10. Design
fail early
The more you invested in your idea, the more you implemented, the less are you open for critic, hence ask for feedback as soon as possible and start with prototypes.
10.1 Prototype
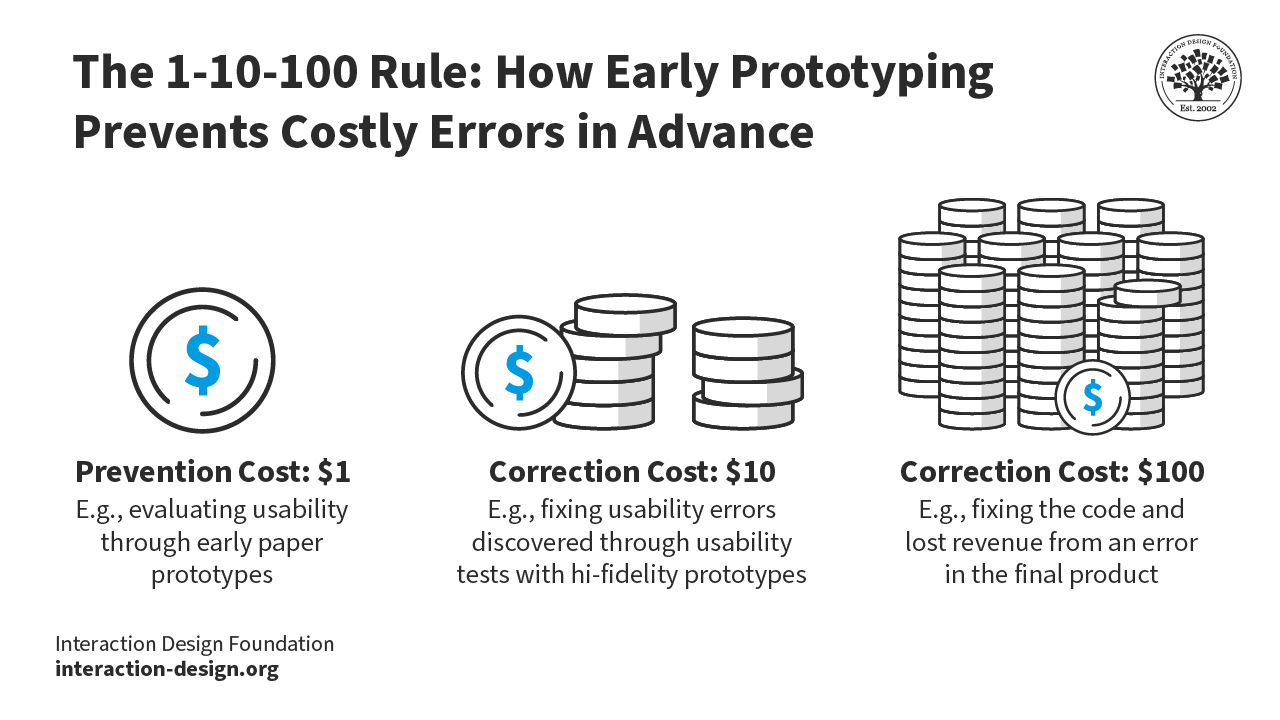
Prototyping will save money and will help to produce the right product.
There are different types of prototypes. We will focus on horizontal prototypes.
- Horizontal: Basically the user interface for all features.
- Vertical: Implement a proof of concept of all your technologies and frameworks and validate how they fit together, learn, what is easy, what is tricky, get an idea for the implementation risks. The vertical prototype goes through all layers for a single feature.
Usually, one distinguishes between low fidelity and high fidelity prototypes
- low fidelity: e.g. paper prototypes are easy to create, easy to change, even by the customer itself and on the fly;
- high fidelity: digital mostly, could be clickable prototypes
10.2 Paper Prototypes
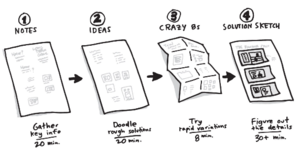
For mobile app development paper prototypes are a good start for ideation. Create many as different as possible prototypes and test them with users. However, don't expect to come up with the perfect paper prototype with the first try. It is good, to go with the following steps described in

10.2.1 Validate your prototypes
Create different paper prototypes for the main part of your application, the features of your MVP.
Before you probe your prototypes with users, make sure you fulfilled the following well respected heuristics and UX laws.
10.2.2 Heuristics
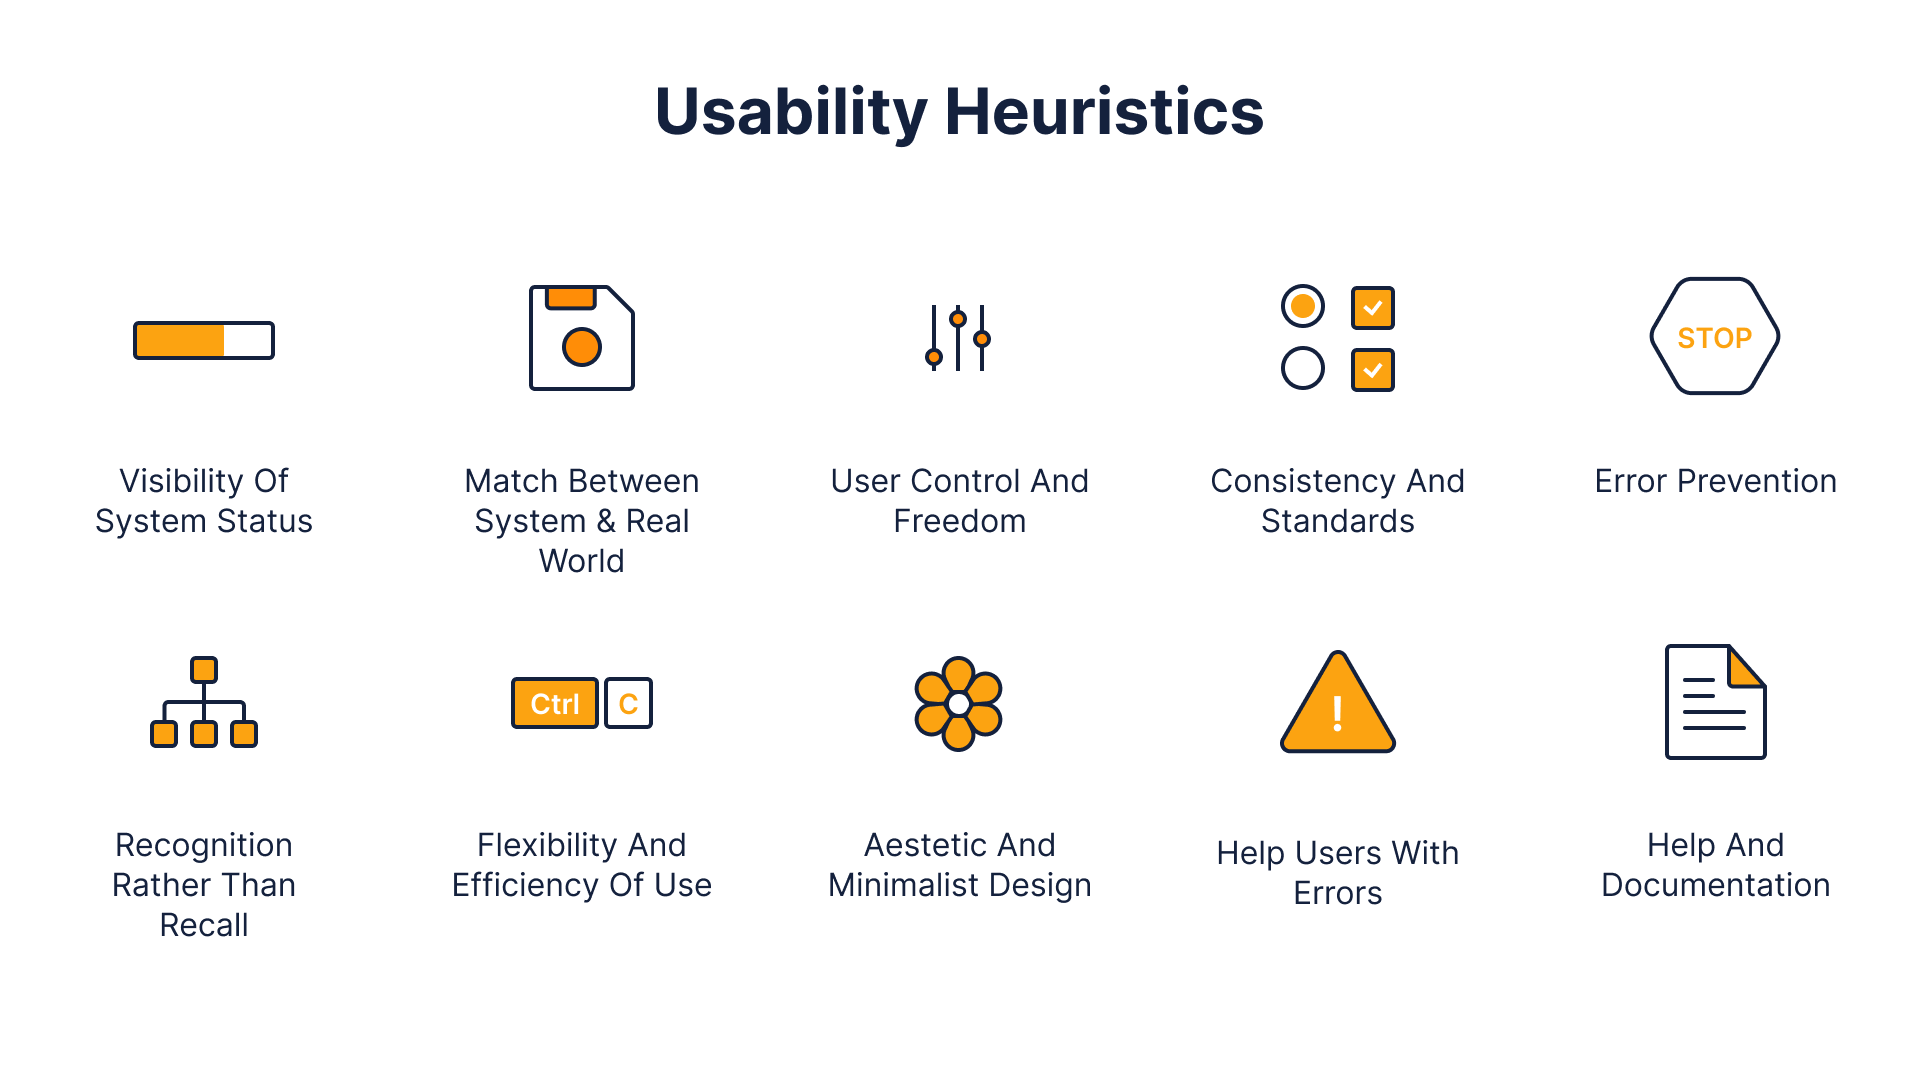
- Immediacy of Action Feedback
- Limitation of Information and Design Aesthetic
- Prioritization of Function over Form
- Explain consequences
Example
Read the following articles and discuss the given examples in your team
10.2.3 Design-Pattern Guidelines - When to use what?
There are many controls for choice and input in general. And there are "rules" when to use what.
- choice
- "Radio buttons are used when there is a list of two or more options that are mutually exclusive and the user must select exactly one choice. In other words, clicking a non-selected radio button will deselect whatever other button was previously selected in the list.
- Always offer a default selection for radio button.
- Checkboxes are used when there are lists of options and the user may select any number of choices, including zero, one, or several. In other words, each checkbox is independent of all other checkboxes in the list, so checking one box doesn't uncheck the others.
- A stand-alone checkbox is used for a single option that the user can turn on or off.
- Use positive and active wording for checkbox labels"1
- Toggle Button: Similar to a stand-alone checkbox, BUT the selection should have an immediate effect.2
- for more than 5 options use Listbox or Dropdown Lists; use a dropdown if
- screen space is limited
- there are more than 15 items
- users can select one or many from the list of options (use drop down with checkboxes) 3
- "Radio buttons are used when there is a list of two or more options that are mutually exclusive and the user must select exactly one choice. In other words, clicking a non-selected radio button will deselect whatever other button was previously selected in the list.
- Error messages: clear and easy, use an icon, color and position next to the input field. Don't check, before the field is completed. Use Modals or Confirmation Dialogs Sparingly. 4
- Onboarding, use it only if
- "You need user information to get started. For instance, a banking app may need users to create an account and confirm their identity before they use the app.
- The application functionality is highly tailored to the user’s context and preferences. For example, a dieting app will benefit from knowing the user’s current weight.
- Important app features or workflows are fairly unique to the app, and perhaps differ from standard UI patterns or are new and unfamiliar. For example, when mobile check deposit was first introduced as an alternative to in-person ATM deposits, that novel feature was worth a formal introduction."5
- "Icons Need a Text Label"6
- Navigation 7
- small screen
- navigation bar/bottom navigation: 3-5 destinations of equal importance
- medium or large screen
- navigation rail, 3-7 destinations plus an optional FAB;
- navigation drawer, can be open or closed by default, put the most frequent destinations at the top and group related destinations together
- small screen
10.2.4 UX Laws
Check the following ux laws for your prototype
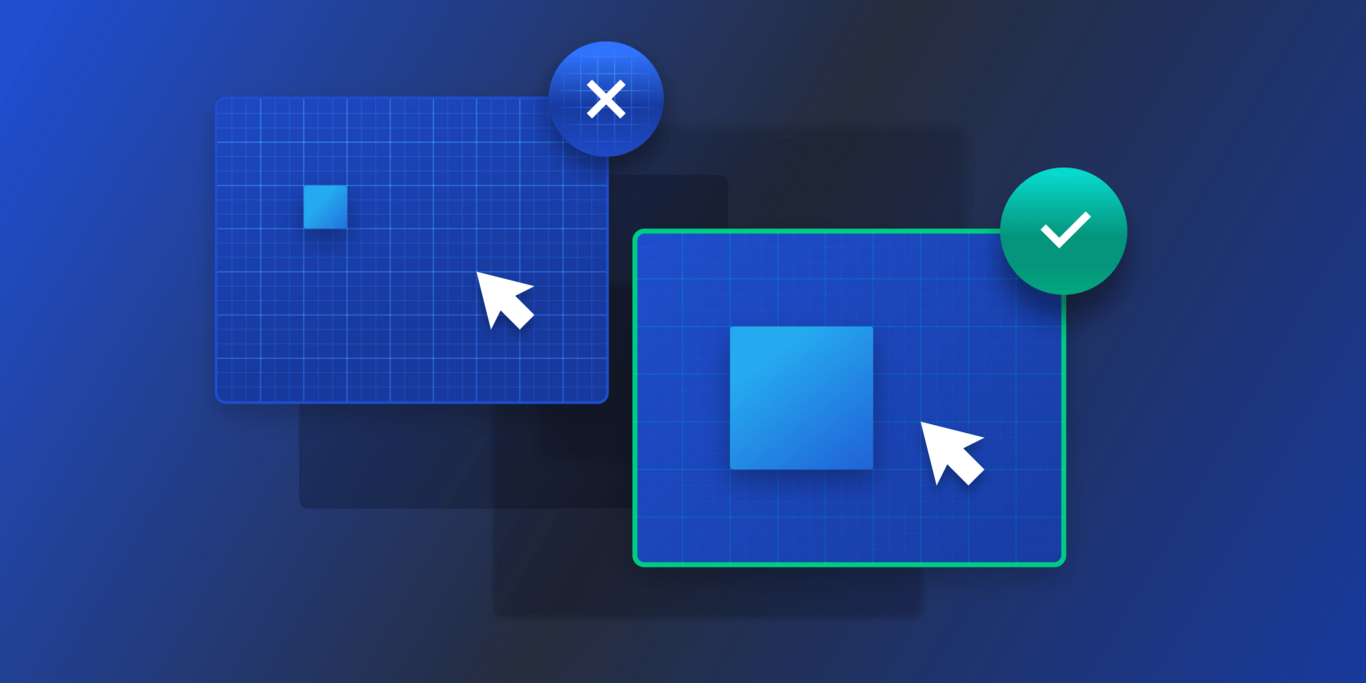
- Fitts' Law: The time to acquire a target is a function of the distance to and size of the target.
- Touch targets should be large enough for users to accurately select them.
- Touch targets should have ample spacing between them.
- Touch targets should be placed in areas of an interface that allow them to be easily acquired.
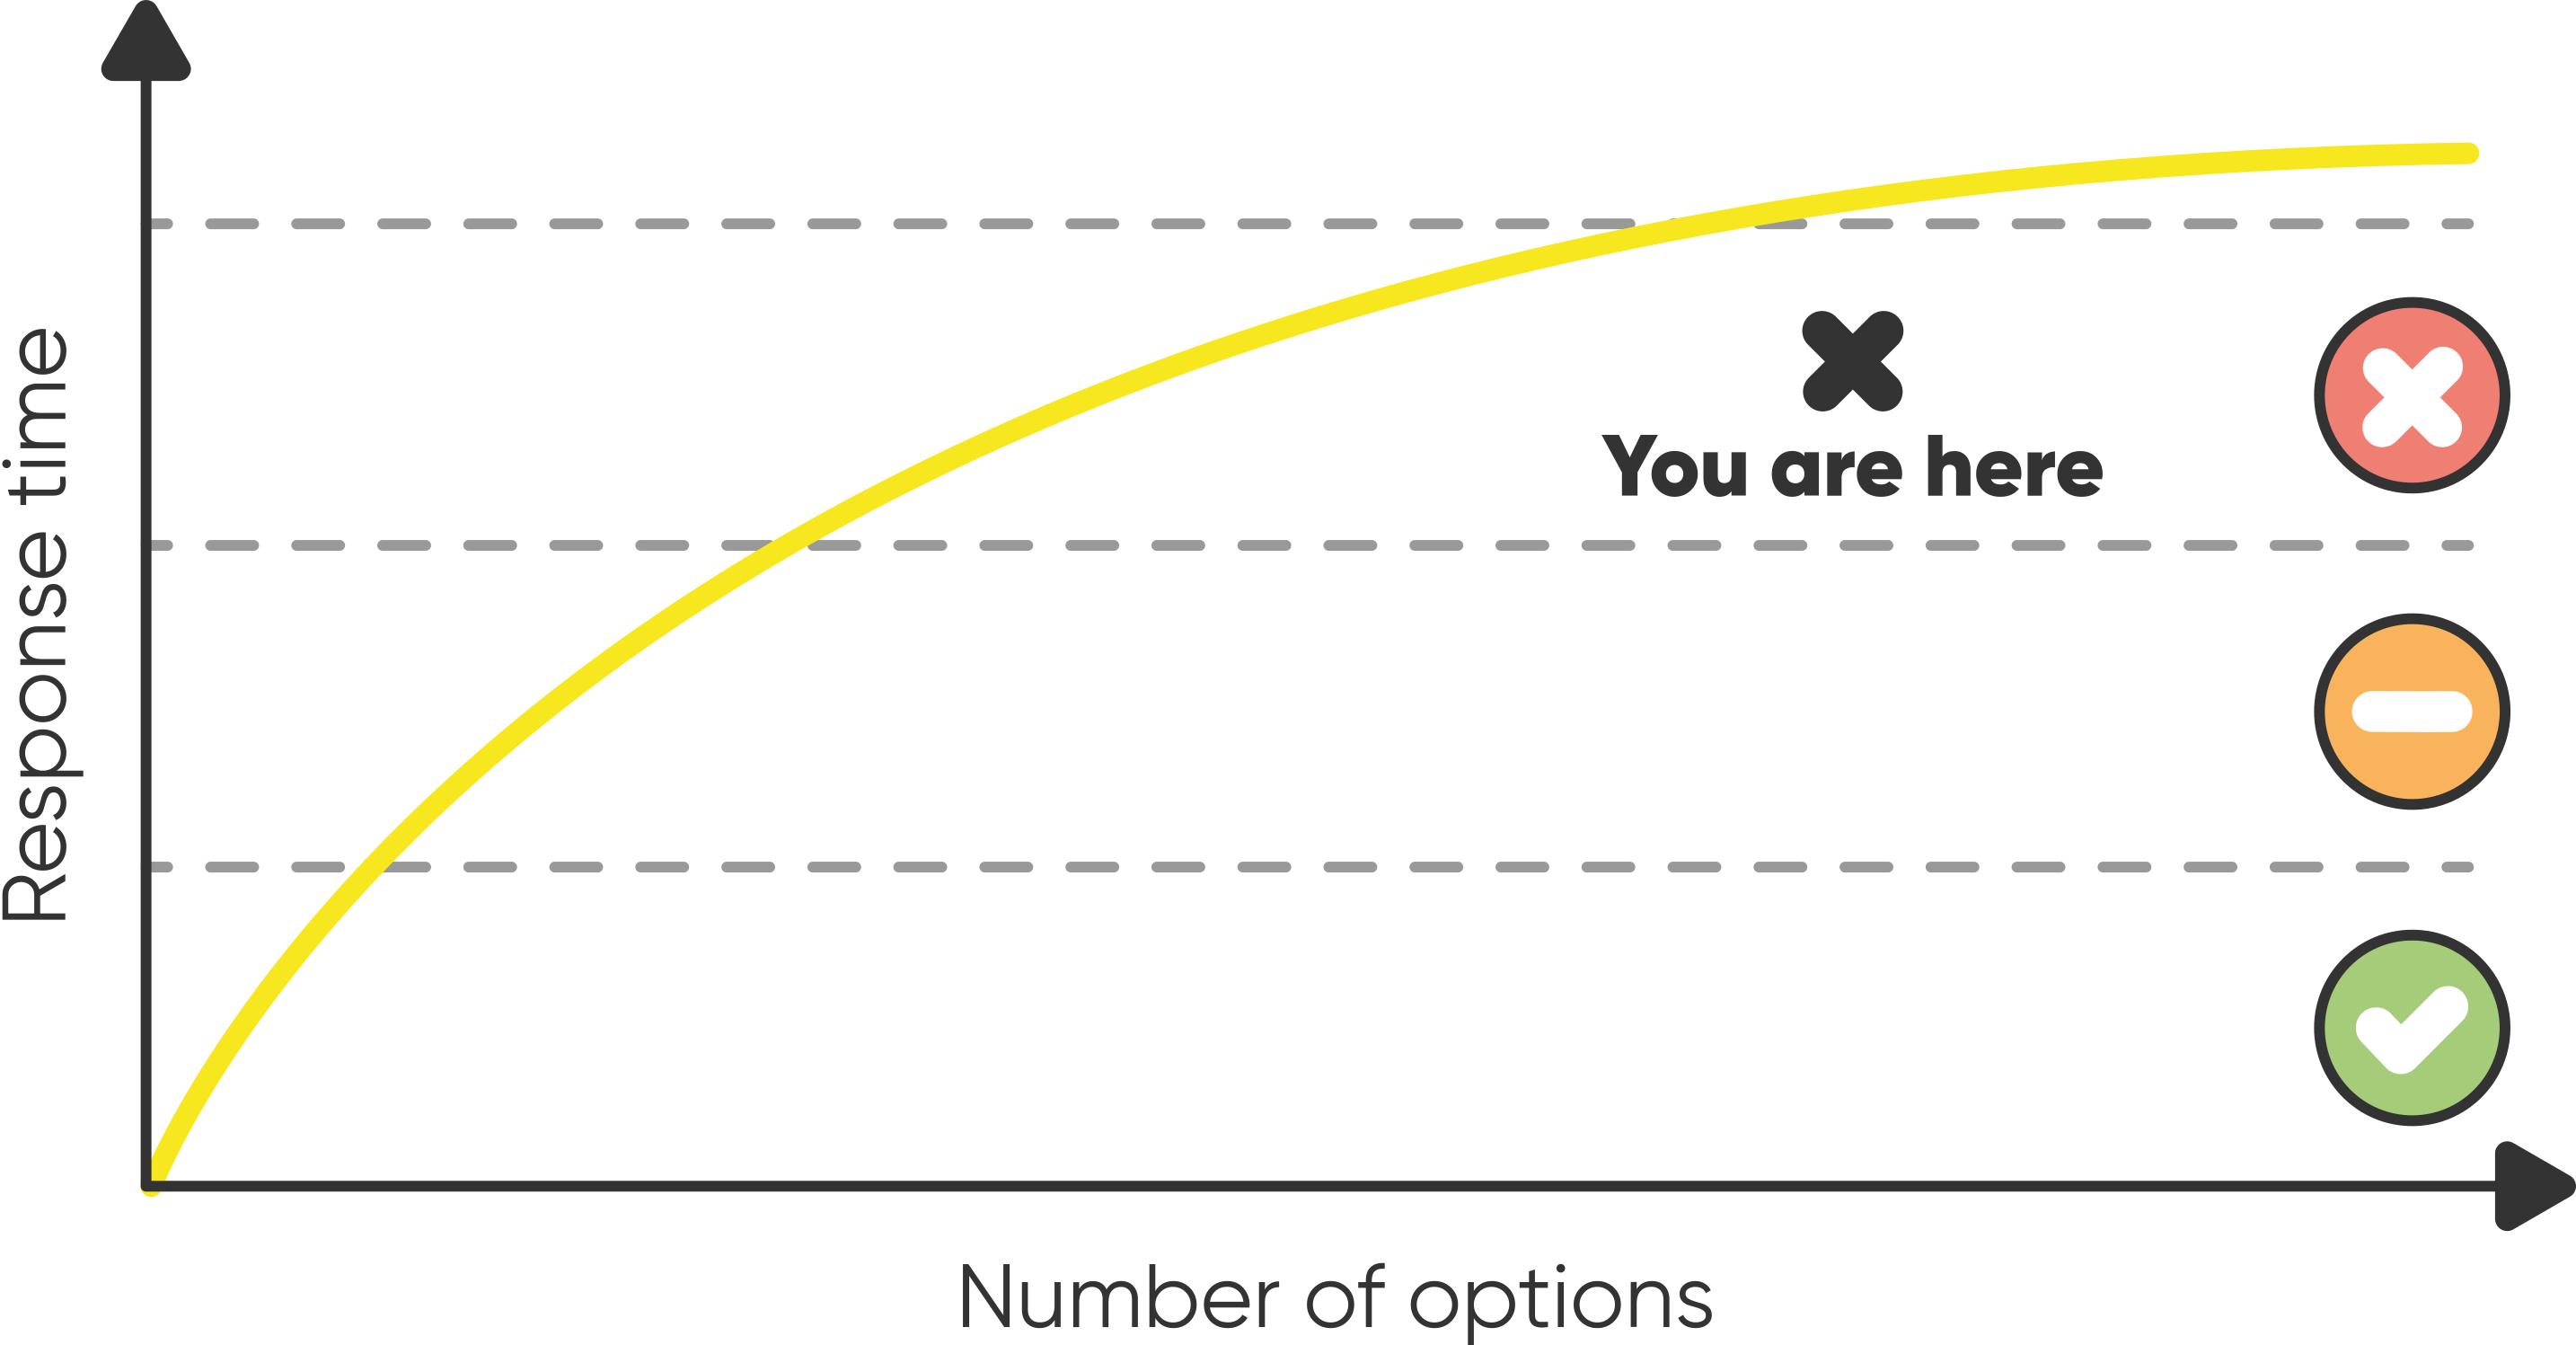
- Hick's Law: The time it takes to make a decision increases with the number and complexity of choices.
- Minimize choices when response times are critical to decrease decision time.
- Break complex tasks into smaller steps in order to decrease cognitive load.
- Avoid overwhelming users by highlighting recommended options.
10.3 Zones
Some users use their smartphone one-handed with their left or right index finger. Many use two thumbs. In addition, people hold their smartphone differently. Depending on your preferred way of using the smartphone some regions are easier or more difficult to reach.8
In general the lower part of your mobile is easier to reach, hence, the primary navigation should be there.
10.3.1 Tasks
At this early stage it is useful to perform a simplified version of thinking aloud (see usability evaluation) with the paper prototypes.
Define tasks according to your user stories and probe them with your users. The tasks should be clear and should not contain any click instructions etc. It is also recommended performing the test similar to a thinking aloud evaluation described later, i.e. ask the user what they think, which actions they consider etc. But do not show how the task may be solved, be supportive and avoid any critic. Remember, your prototype and idea is tested, not the user!
Example Task
"Your annual summer holidays are coming up. You need to book tickets for your family. Check out tickets for Greece, and purchase return tickets for all three members of your family."9
Define 5 to 8 tasks, not more.
10.4 User Flow Diagram
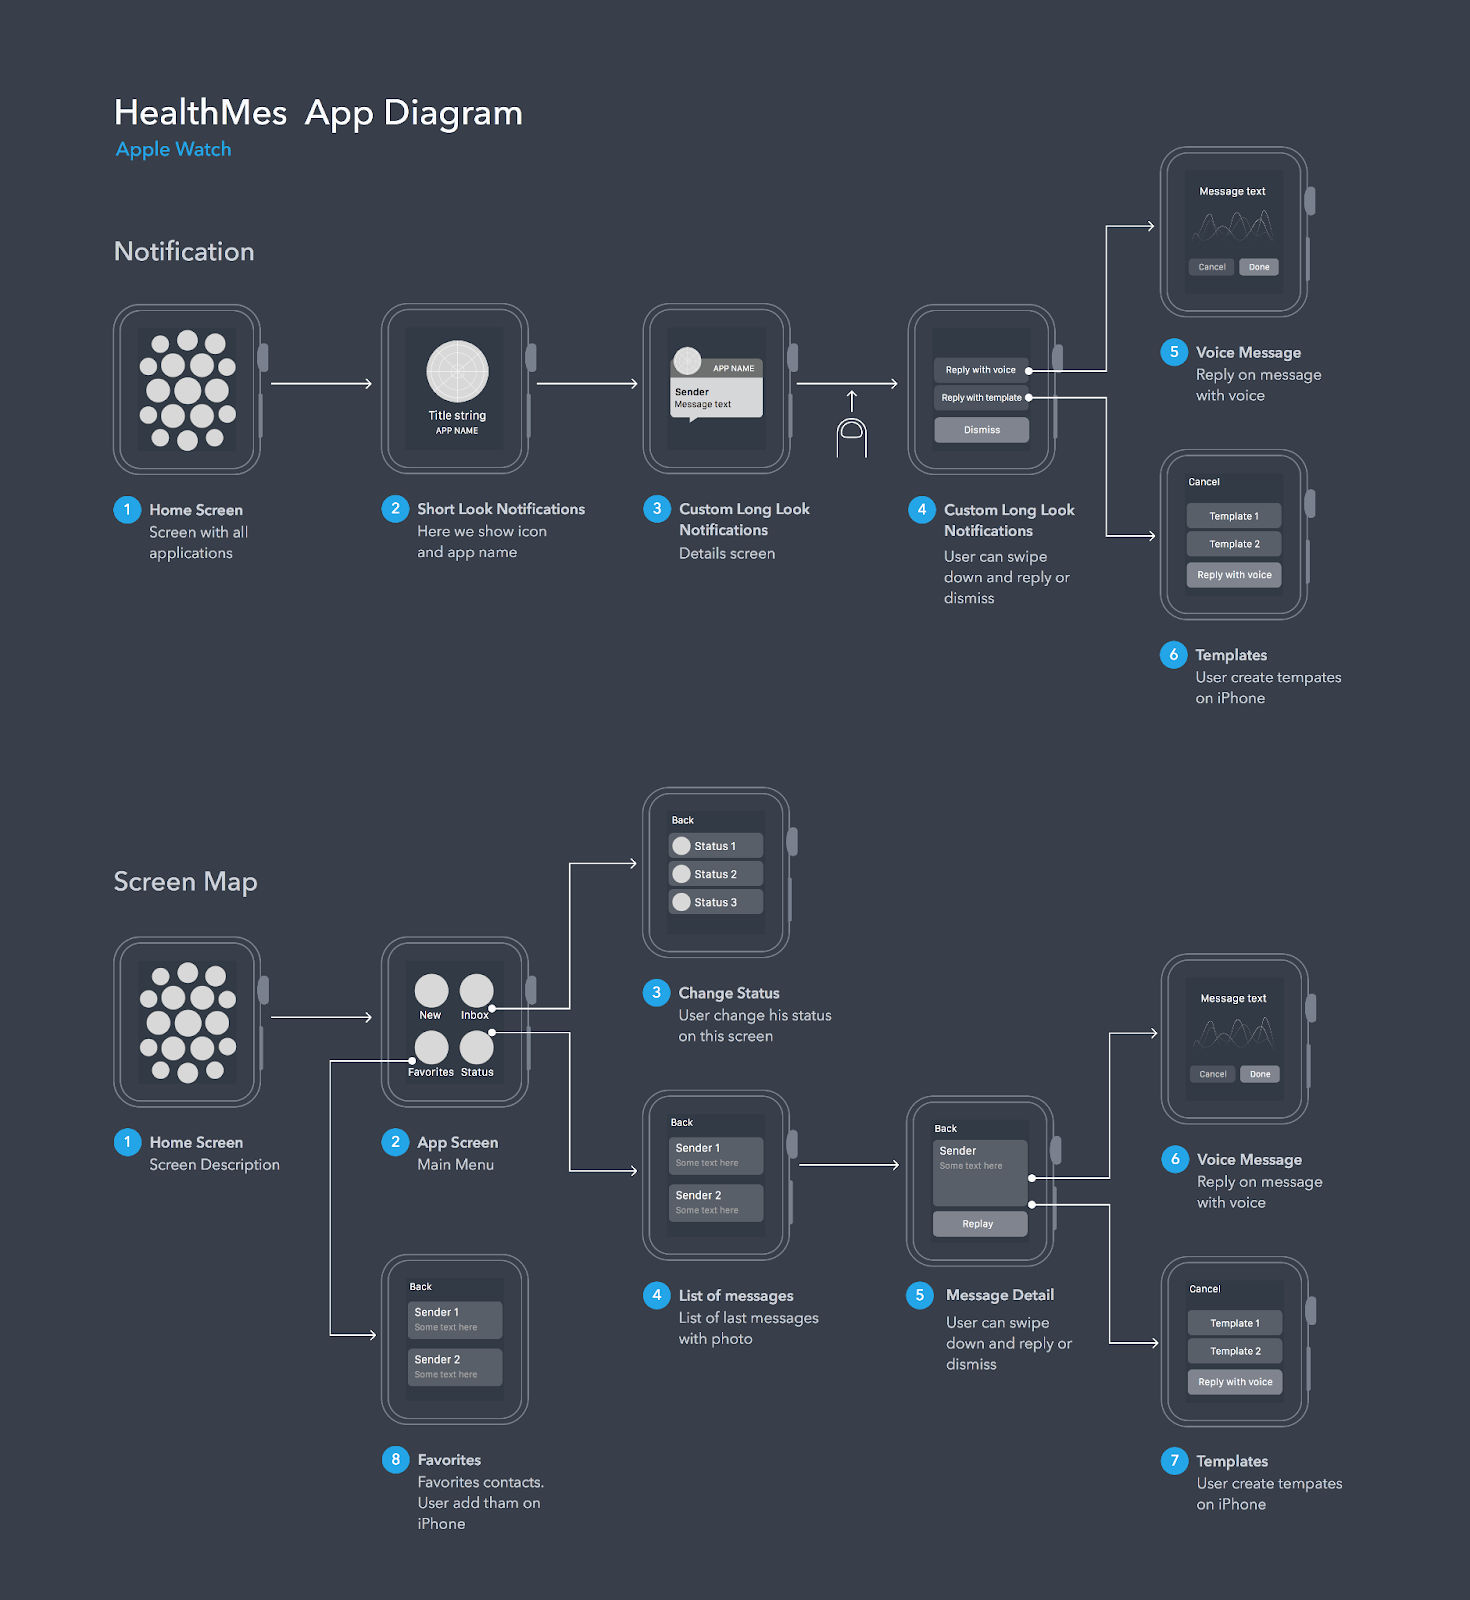
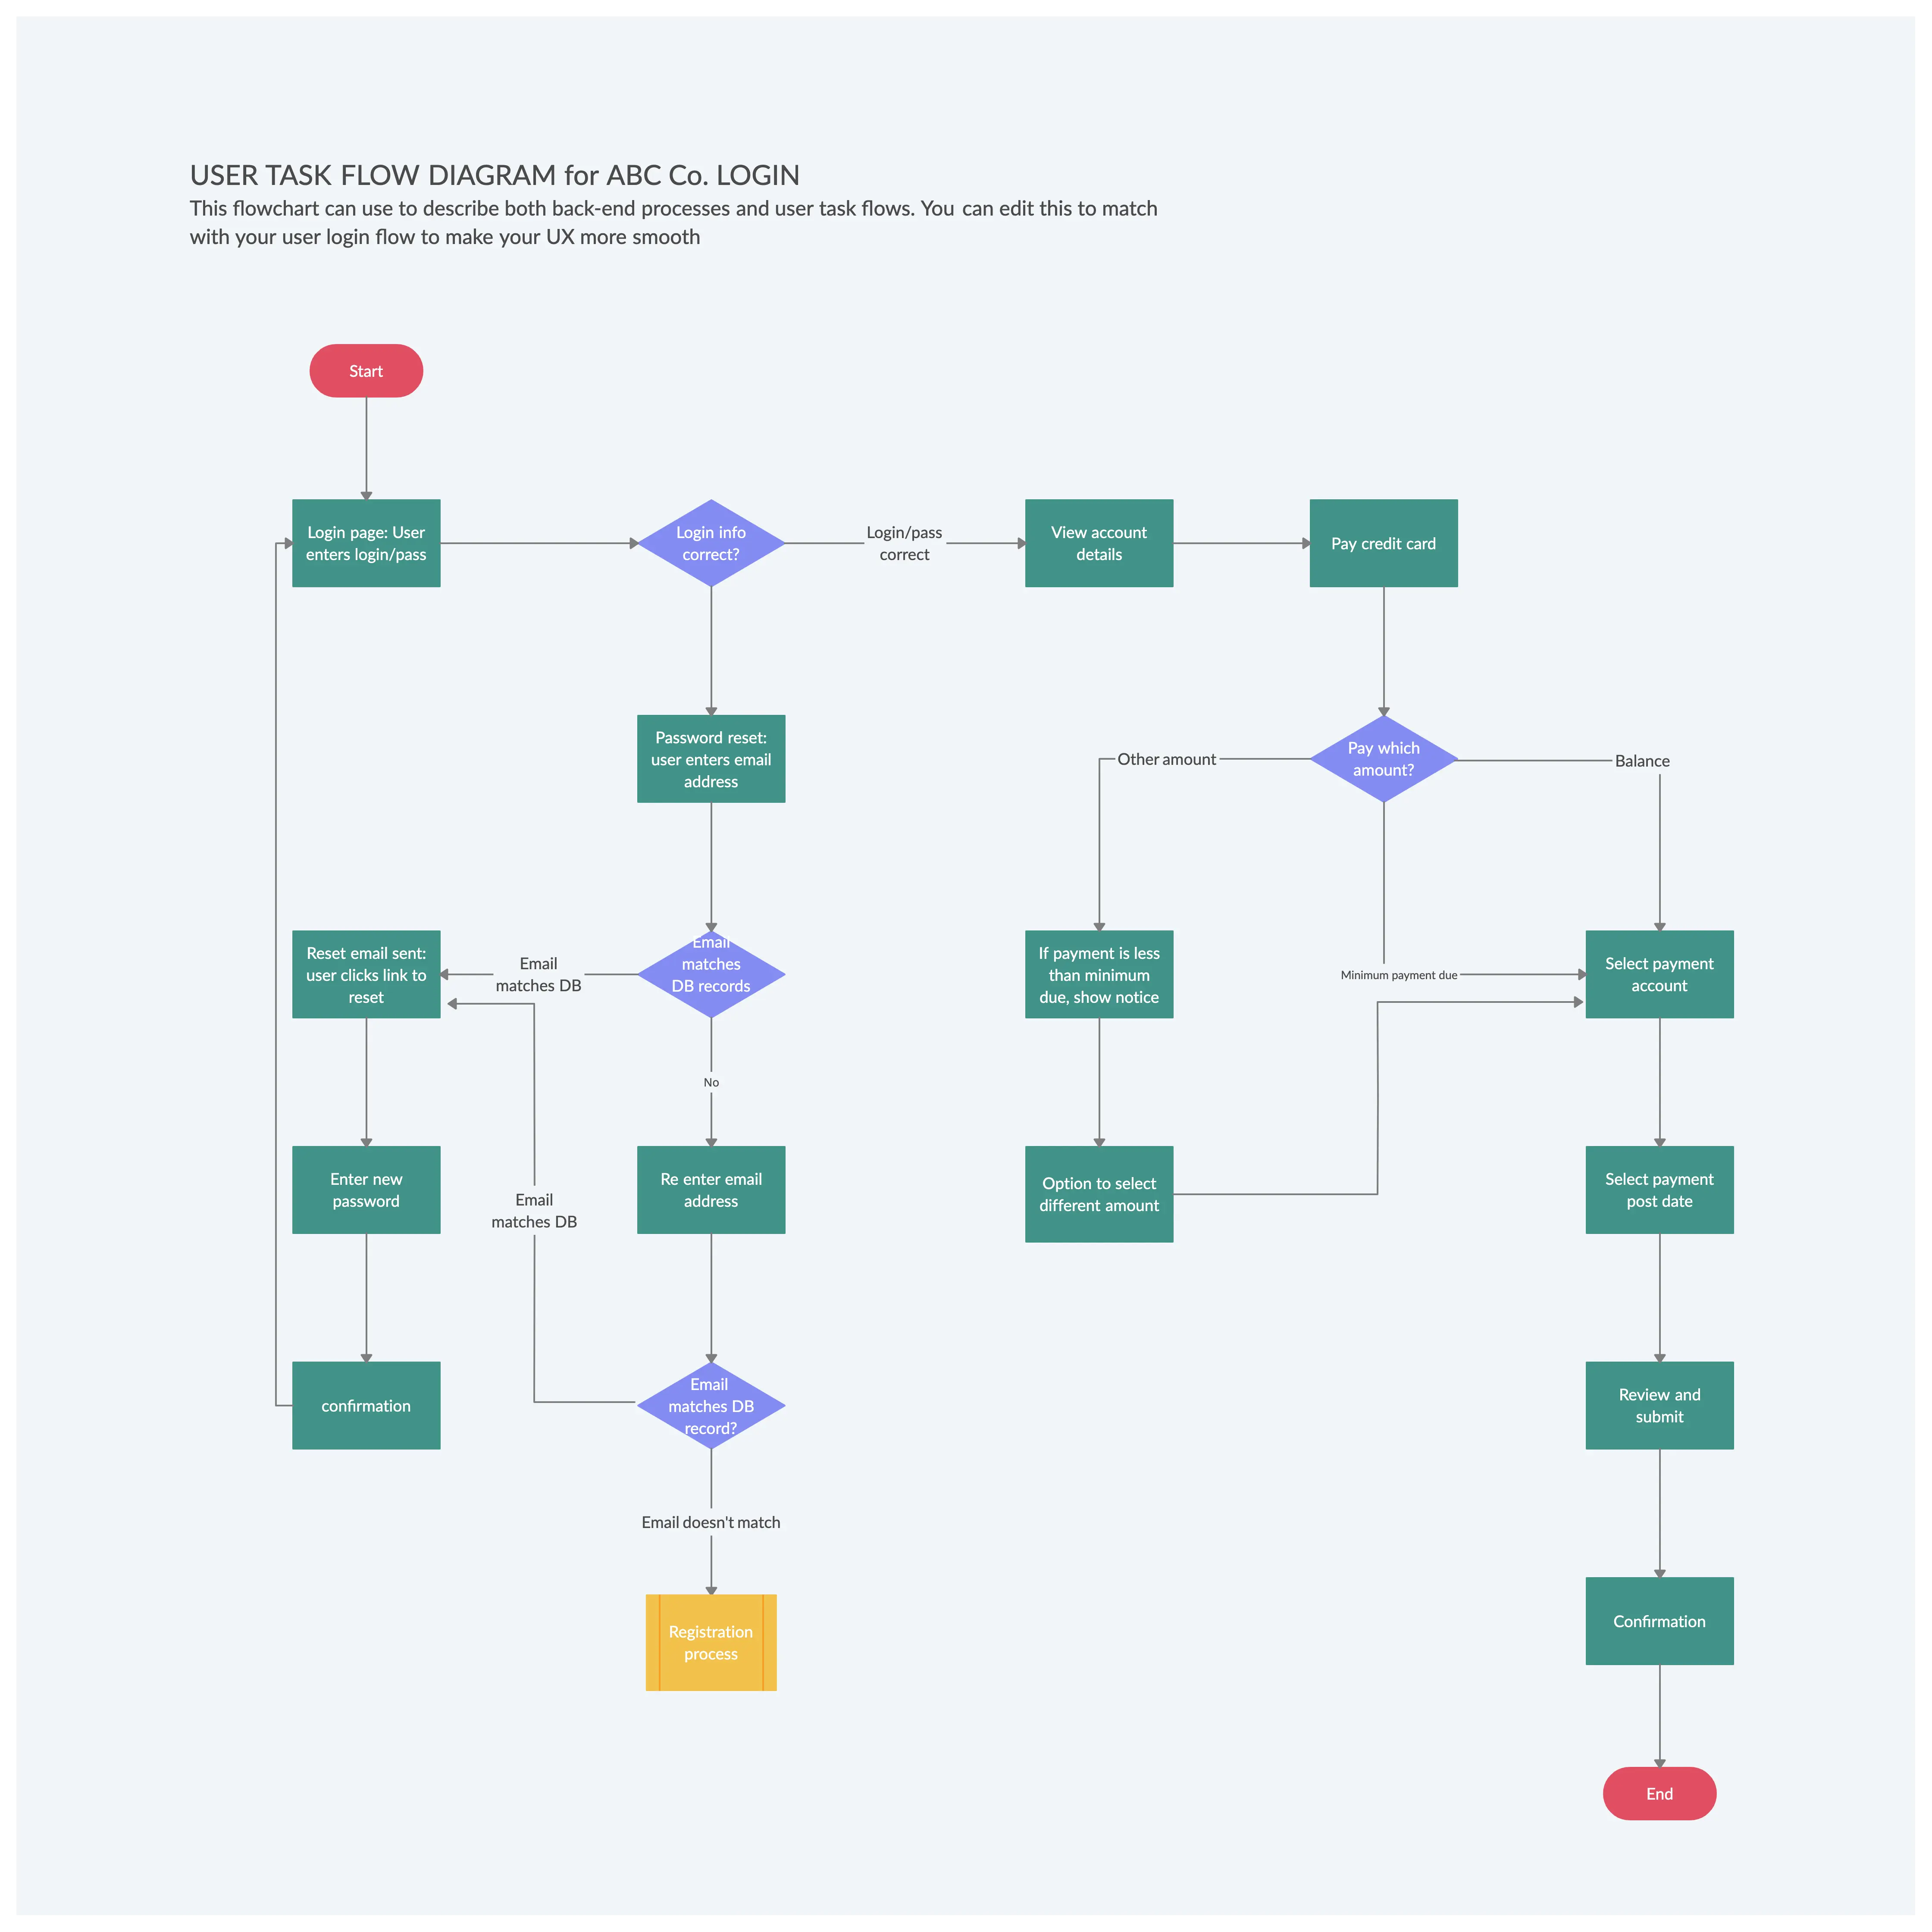
Taking the user feedback into account, rehearse your navigation and possible interaction. The navigation and interaction should be planned and not random. Consider one or a mix of the following patterns

Tip
Make the paths for important tasks and frequent tasks short.
There is no standard how to document the user flow. Hence, create a legend, sketch and discuss with your team, if it is clear and easy to understand.

10.5 Digital Prototypes
Start with wireframes and then add details, colors, ... The most popular tool is Figma -- with your student account it is free.
- Wireframes show a skeleton view of the UI
- Identify screen areas where content is displayed
- Focus is on page layout not interaction

10.5.1 Figma
Figma is a great tool for digital prototypes. Make sure to learn it properly. There is more than squares.
- Learn the
 basics.
 - Learn to define and use styles, first 4 min.
- Whenever you need a color/font/padding/margin/... twice, define a style.
- Learn to define and use components with variants like pressed, disabled.
- Whenever you need a button, a navigation bar ... twice, define a component.
- Use a layout grid.
- Learn to use auto-layout.
- If you want to become an expert
With styles and components, you have one place where you need to change something. It is the same as with proper programming.
10.6 Design Rules
Remember, it takes time and routine to design well. For the start make sure you follow the following design rules and take some psychological considerations into account. If you are interested in more psychology read Psychology for UX: Study Guide.
10.7 Font
Tip
Choose one or at most two fonts. Prefer sans serif (grotesque) fonts for their better readability.
"Each typeface family has multiple font styles, from italics and oblique to thin and thick bold weighted. These different style types are often used to emphasize certain words. Depending on the emphasis you want to create, you can choose italics (or oblique) or an extremely weighted font, like a heavy bold. When considering which font to use on a website, the main criteria is that it is readable and legible at the size you intend to use. The harder something is to read, the higher the chances are of your users abandoning your website. Keep long pieces of body copy in a sans serif or serif font and avoid decorative fonts, as I’ve mentioned in the previous section. Choose a legible font with enough contrast on the page so that users can scan quickly for the information they’re looking for. Unsure if your chosen font is legible? Test, test, test! Whether it’s with users or finding devices with lower resolutions, testing is the best way to ensure you’ve made the right choice."11
Here are some free available fonts
Rules of thumb
- font size: 12sp, 1em
- line length: 45-57 chars
- align left
- avoid italic
10.8 Color
- "Color is one of the most powerful tools in visual design because it can evoke emotions and change people’s moods. A poor color scheme can immediately drive someone away from your website or web app if it is too intense and causes a visceral reaction.
- When picking color schemes, use the color wheel to identify color relationships. Color relationships, including monochromatic, complementary, analogous, triad, and split complementary, can help you pick a color scheme.
- You can easily create shades and tints from a base hue by adjusting the lightness and saturation in your design tool of choice.
- Different colors mean different things and convey certain types of emotions and feelings. If you’re stuck trying to decide on a color scheme, think about the kind of feeling you want to evoke from your design and pick primary colors based on that.
- Accessibility should be considered when picking color schemes, so use a contrast tester to ensure your text color is readable. Also, avoid using solely color to convey information, and include additional context like icons or labels along with the color." "11
10.9 Gestalt
Gestalt Principles are principles/laws of human perception that describe how humans group similar elements, recognize patterns and simplify complex images when we perceive objects.

Hence, they are a great way to use them instead of lines etc. to show that elements belong together or are separate and how to layout elements. Check your layout for a clear visual hierarchy

10.10 Affordance
Cite
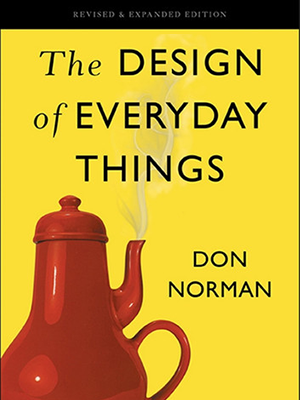
“Affordances represent the possibilities in the world for how the agent (a person, animal or machine) can interact with something.” “Affordances determine what actions are possible. Signifiers communicate where the action should take place. We need both.” Don Norman
"There are different types of affordance
- Physical affordance: feature that helps users in doing a physical action in the interface. Example: a button that is large enough so that users can click on it accurately
- Cognitive affordance: feature that enables thinking, learning, understanding, and knowing about something. Example: a button label that helps users know what will happen if they click on it. Form Follows Function is a cognitive affordance.
- Sensory affordance: design feature that helps users sense something. Example: a label font size large enough to be discerned.
- Functional affordance: design feature that helps users accomplish a task. Example: sort functionality in an inventory."12
The XR Interaction toolkit provides a complete affordance system.
10.11 Mental Model/Metaphor/Conceptional Model
The mental model varies from user to user. It is what the user thinks, how the system works. It may be derived from the real world and or of experience with other software, e.g. the disk symbol, the desktop on a Windows pc, the back button in a web application (with single page applications you have to program, how the back button should behave), ...
10.12 Reading Flow
There exists research, how people of the west scan papers and websites: Gutenberg pattern, Z-Pattern, Zig-Zag Pattern and F-Pattern, see Optimising Visual Layout for Training and Learning Technologies. However, the paper is from 2016 and in mobile apps reading plays a minor role.
10.13 Responsive
Flutter is a cross-platform framework. Hence, your app will most likely be used on different devices. There are two reasonable approaches to design for mobile, tablet and desktop:
- mobile first: start with the mobile layout and develop tablet and desktop from here
- tablet first: start with the tablet layout and downsize to mobile and upsize to desktop from here
In general, it is not just a resizing of different UI elements to fill the additional space, it is a complete redesign of your app.
10.14 Guidelines
Each platform and big companies have their guidelines for UI-design. Follow the guidelines.
10.15 Diversity & Accessibility
Cite
"Inclusive Design is for you" -- Microsoft Inclusive Design
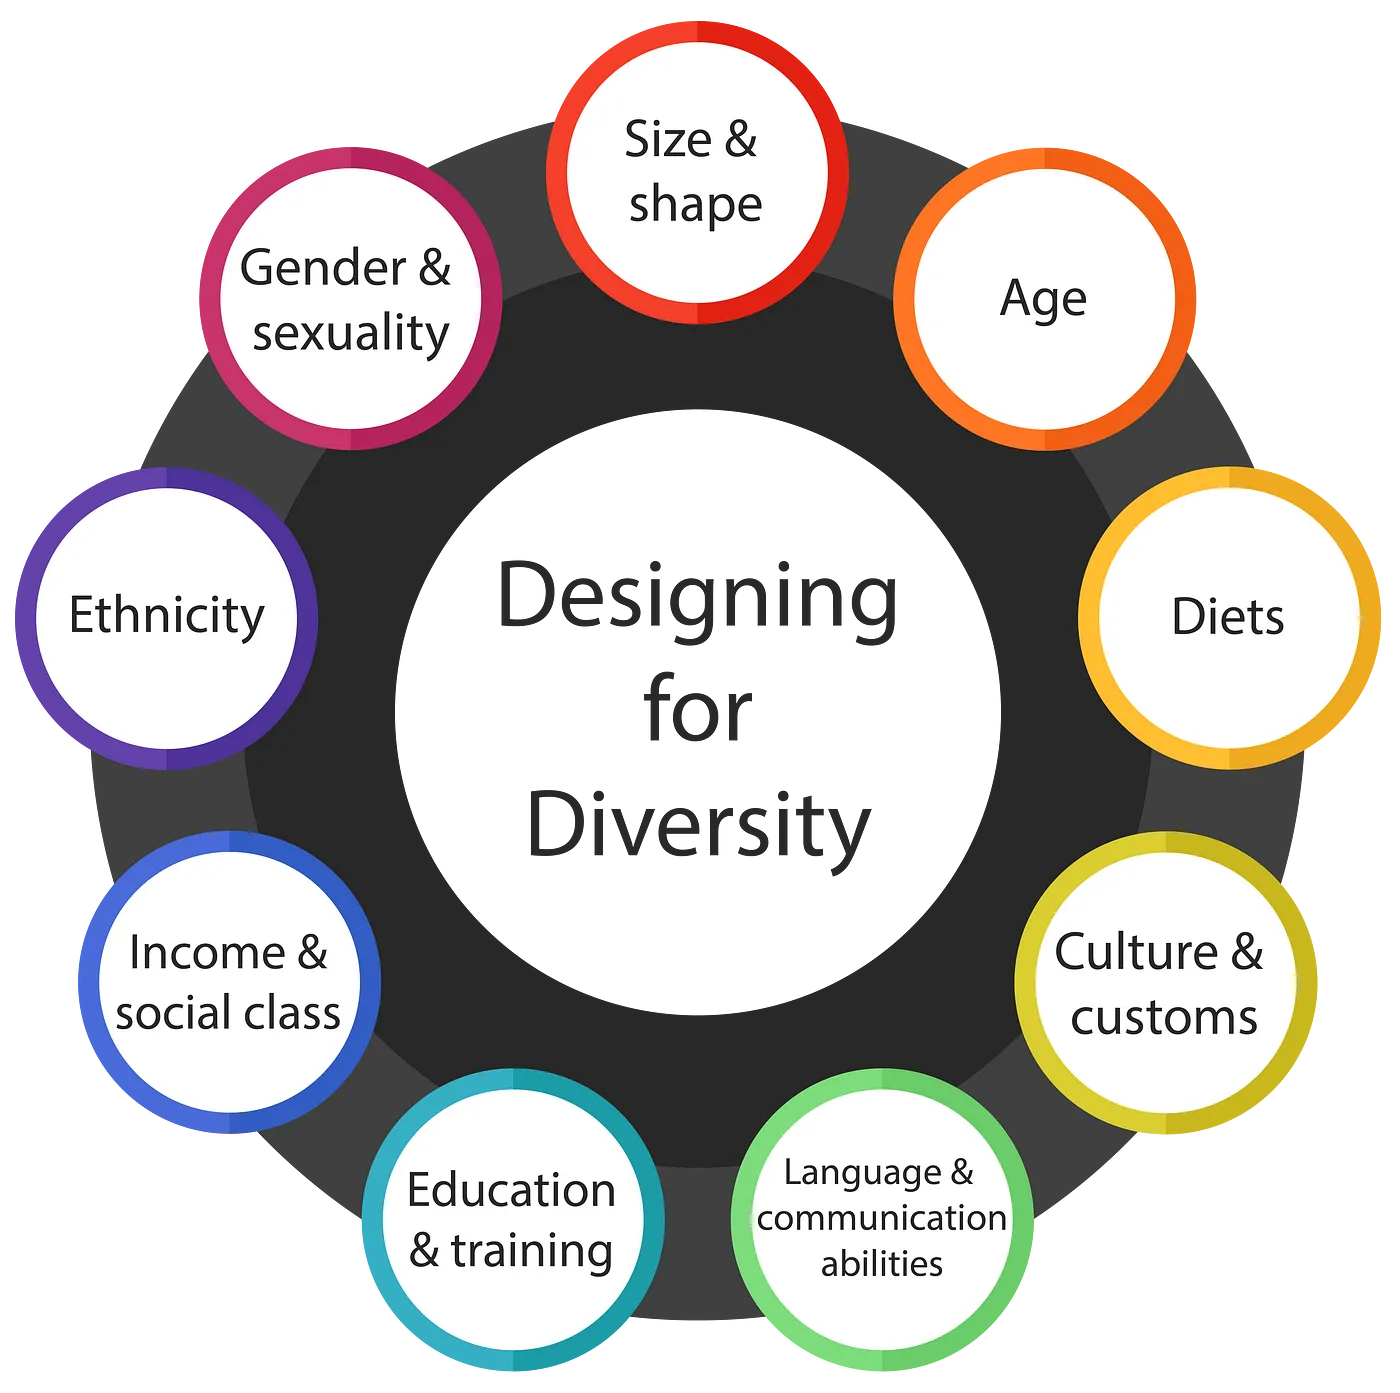
Stine Moesgaard Vilhelmsen • UX Copenhagen 2018 "Design and Innovation With a Gender Lens
Cite
"According to the World Bank, 15% of the world’s population has some type of disability. People with disabilities depend on apps and services that support accessibility to communicate, learn, and work. By making your app accessible, you can reach these users." developer.android
Make your design for all users and inclusive. You are the developer, you are responsible to code in a way, your app may be used by blind people, with different special input devices, you are responsible to remove the hurdles. It is only a little effort for you, if you do it from the first line of code, and it makes a big difference for people with a handicap. In addition, make your forms such, that only really relevant data is asked and avoid binary salutation. If you think of default values, take real statistics as a reason for the default value and not the majority of your dev team.
In general consider the following
- in forms ask for as few data as possible, include divers/other if salutation is required by the law
- check contrast (about 8% of the male are color-blind)
- check resizing font
- check tap size of targets and margin between targets
- check interaction with different input devices, do not rely on touch only
- check semantics, i.e. add text for fields, images, icons
- check simplicity, i.e. simple language, short sentences
- check if your layout works for right to left
10.16 Reflection
Question
- Find examples and counter examples for Hick's and Fitt's law.
- What are the pros and cons for low fidelity and high fidelity prototypes?
- When should you do a vertical prototype?
- What is the most surprising and what the most important heuristic for you?
- What are the Gestalt principles, and which is the most useful for your interface design?
- Find good examples for metaphors in mobile apps.
- Find good examples for affordance in mobile apps.
- What does inclusive design mean? What are the advantages of inclusive design?
-
Jakob Nielsen. Checkboxes vs. radio buttons. 2004. URL: https://www.nngroup.com/articles/checkboxes-vs-radio-buttons/ (visited on 03.04.2024). ↩
-
Alita Joyce. Toggle-switch guidelines. 2018. URL: https://www.nngroup.com/articles/toggle-switch-guidelines/ (visited on 03.04.2024). ↩
-
Anna Kaley. Listboxes vs. dropdown lists. 2020. URL: https://www.nngroup.com/articles/listbox-dropdown/ (visited on 03.04.2024). ↩
-
Rachel Krause. How to report errors in forms: 10 design guidelines. 2019. URL: https://www.nngroup.com/articles/errors-forms-design-guidelines/ (visited on 03.04.2024). ↩
-
Alita Joyce. Mobile-app onboarding: an analysis of components and techniques. 2020. URL: https://www.nngroup.com/articles/mobile-app-onboarding/ (visited on 03.04.2024). ↩
-
Aurora Harley. Icon usability. 2014. URL: https://www.nngroup.com/articles/icon-usability/ (visited on 03.04.2024). ↩
-
Material design 3. 2021. URL: https://m3.material.io/ (visited on 03.04.2024). ↩
-
Steven Hoober. How do users really hold mobile devices? :: uxmatters. 2013. URL: https://www.uxmatters.com/mt/archives/2013/02/how-do-users-really-hold-mobile-devices.php (visited on 16.02.2024). ↩
-
Elena Luchita. 8 tips for writing great usability tasks. 2019. URL: https://maze.co/blog/write-great-usability-tasks/ (visited on 16.02.2024). ↩
-
Jenifer Tidwell, Charles Brewer, and Aynne Valencia. Designing interfaces: Patterns for effective interaction design. O'Reilly, Sebastopol, California, third edition edition, 2020. ISBN 9781492051916. URL: https://learning.oreilly.com/library/view/designing-interfaces-3rd/9781492051954/ch03.html. ↩
-
Stephanie Stimac. Design for developers. Manning Publications, Shelter Island, NY, 2023. ISBN 9781617299476. URL: https://learning.oreilly.com/library/view/-/9781617299476/?ar. ↩↩
-
Celia Hodent. The gamer's brain, part 2: ux of onboarding and player engagement (gdc16). Celia HODENT, 2016. URL: http://celiahodent.com/gamers-brain-ux-onboarding/ (visited on 16.02.2024). ↩